This post will briefly address using telephoto lenses (TLs) to tell stories. Many of the same rules of composition apply with wide angle and TLs. Rule of thirds. Using leading lines and natural frames to draw interest into the photo and then direct the viewer toward the subject . Finding patterns and symmetry and so on. As with wide angle, include any important visuals in the frame that will help tell the story; leave any unnecessary visuals out. There's no right or wrong way to capture a story, so use the lens that will get the job done best. Sometimes, my 85 or 135mm lens is the better choice.
Benefits of using telephoto lenses here:
1. the subject may be less aware or wary of your presence-they may not play up to the camera as much, which will allow you to capture more natural behaviors out of your kiddos
2. compression-longer lenses make things appear closer together than they really are (you may already know this)-consider how this could help you layer your compositions in a more interesting way
3. longer lenses have shallower depth of field (DOF) at wider apertures than wide angles, allowing you to isolate your subject from the background more easily
4. in addition to isolating your subjects using shallow DOF, you can isolate elements that tell the story and simultaneously, eliminate clutter (sometimes, clutter works and sometimes, it's one of those elements you should eliminate)-it's all the judgment call of the photographer
Here are some examples taken with either the 85 f/1.8 or the 135 f/2L lens.
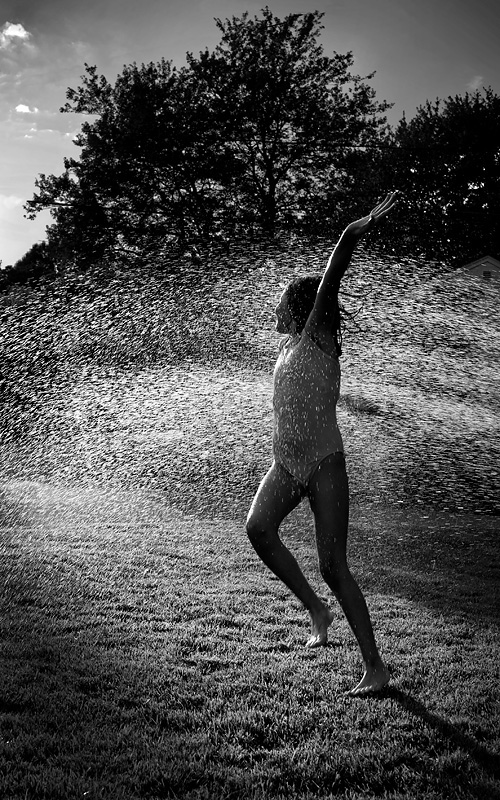
Taken with the 135L at a local fountain. It was nice to be able to frame him against the water from a comfortable, seated position, some 20-25 feet away. The telephoto also compressed the scene, making the shoots of water appear to be closer together than they truly were.

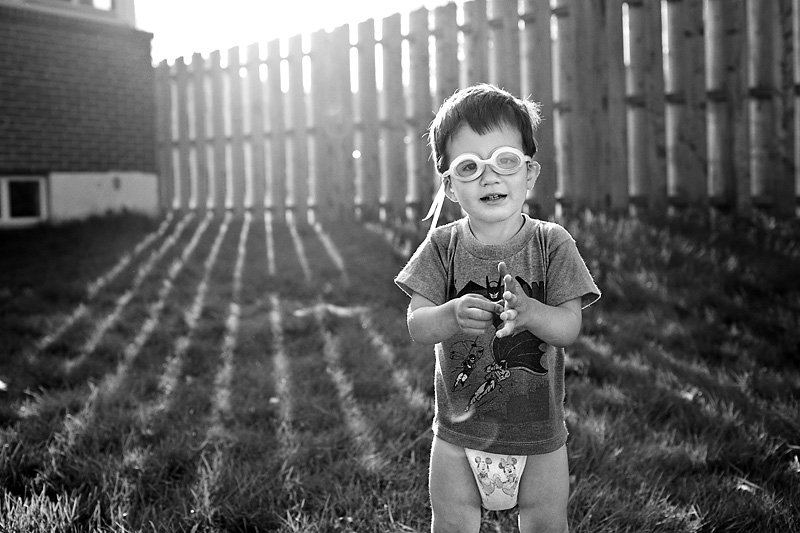
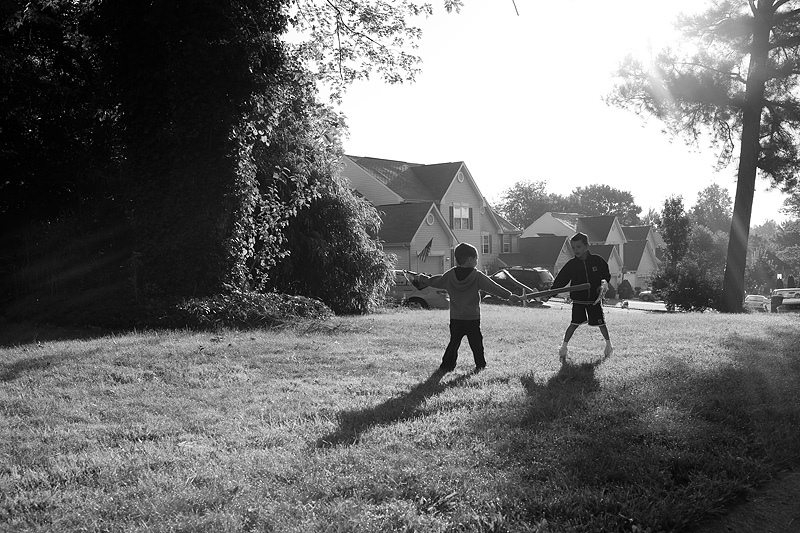
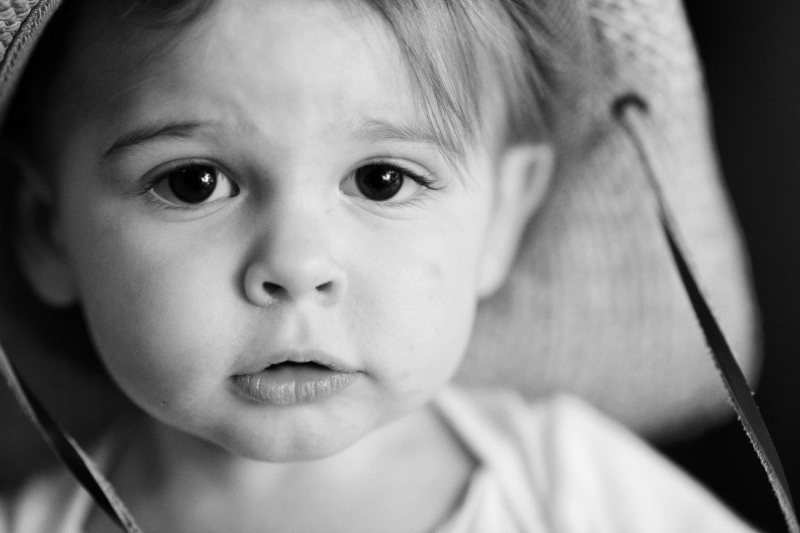
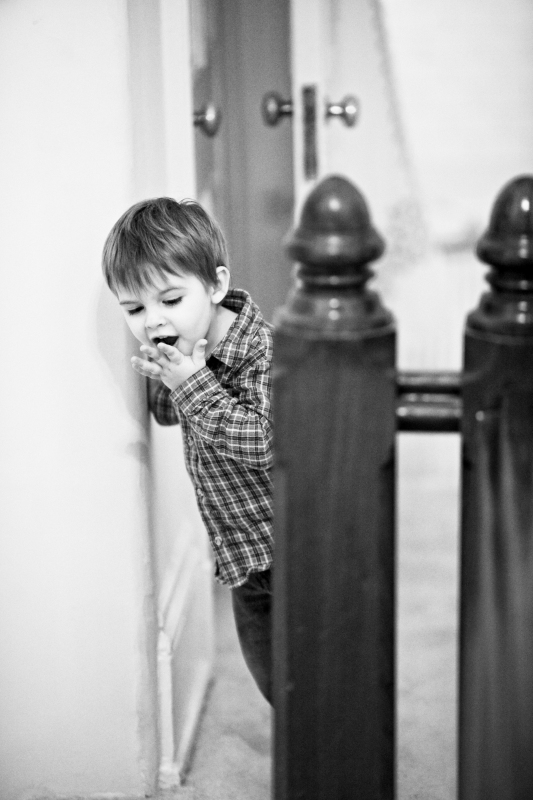
Taken with 85mm.
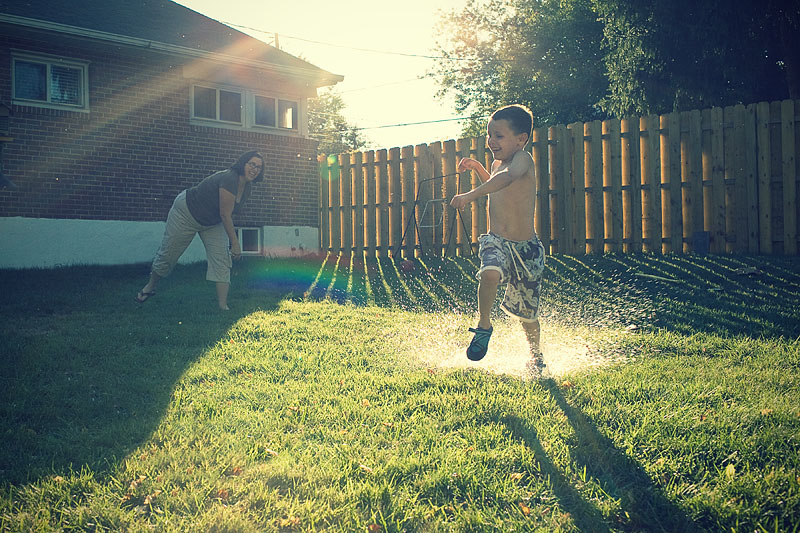
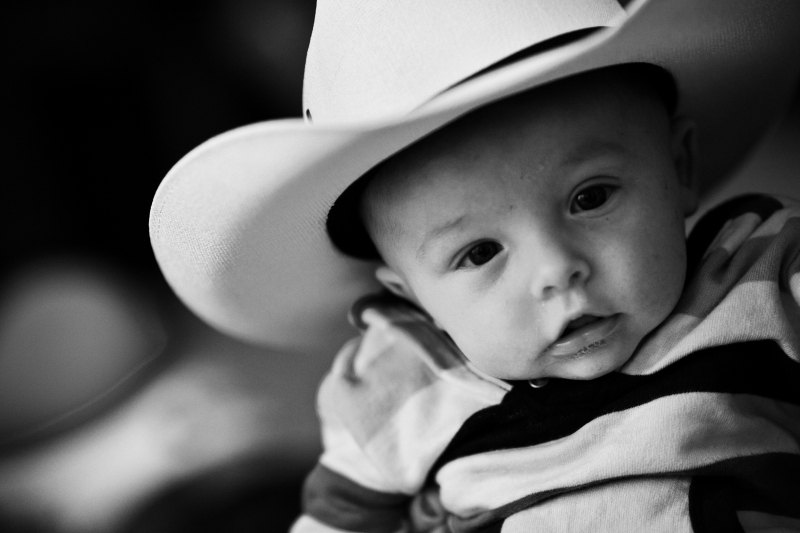
Taken with 85mm.
Since I used the 85mm lens, I was farther away from Henry than if I had used a wider lens and framed similarly. It gave me more time to wait for the moment I wanted (with a wider lens, he wouldn't been on top of me in a couple seconds), when he looked up at me. I was also able to track him easier at that distance using AI Servo.

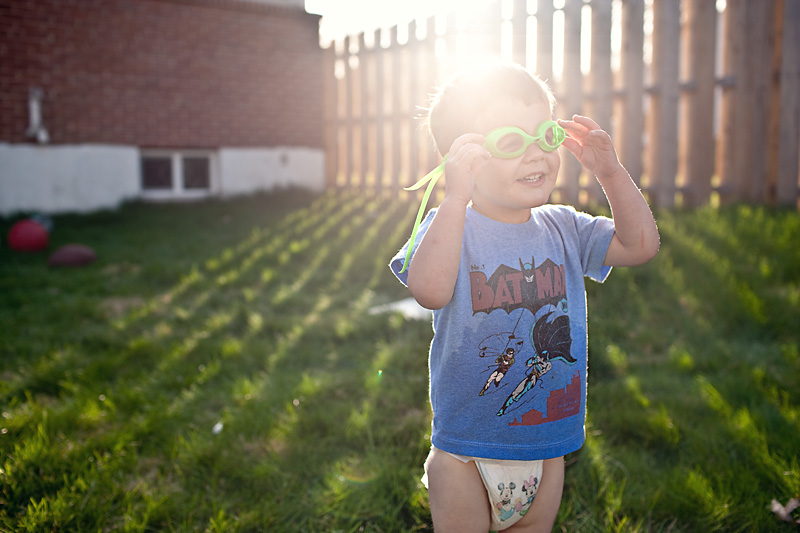
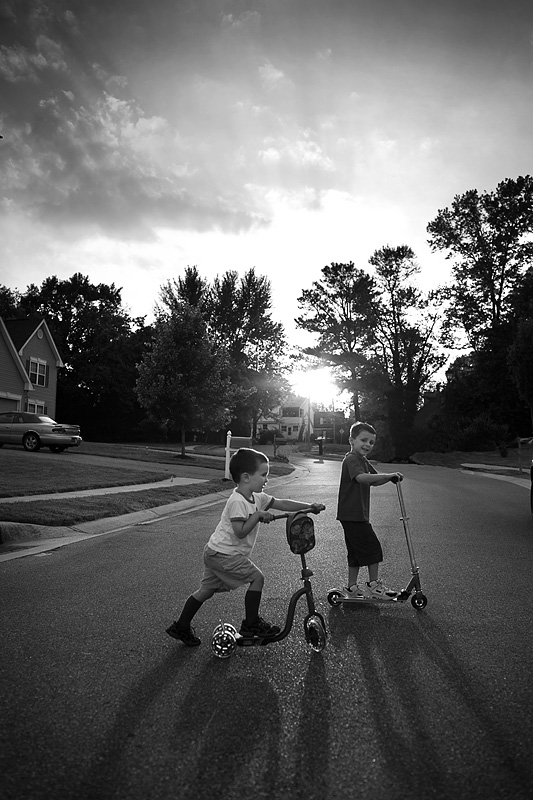
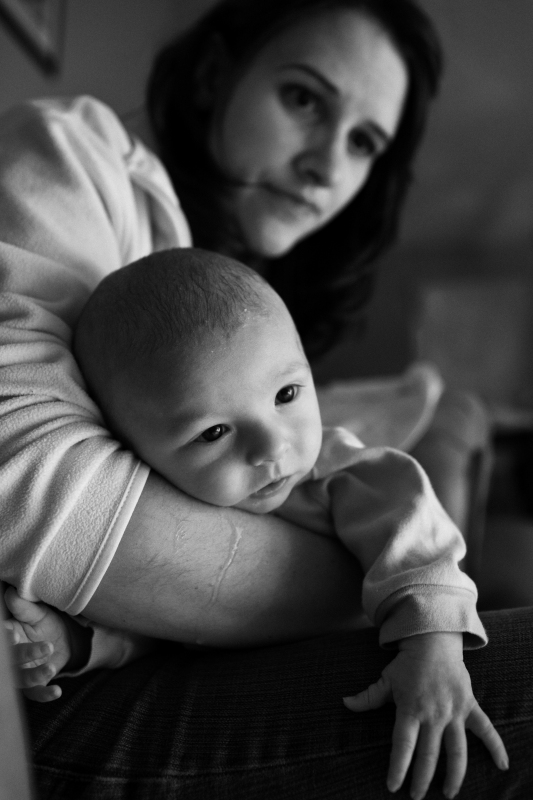
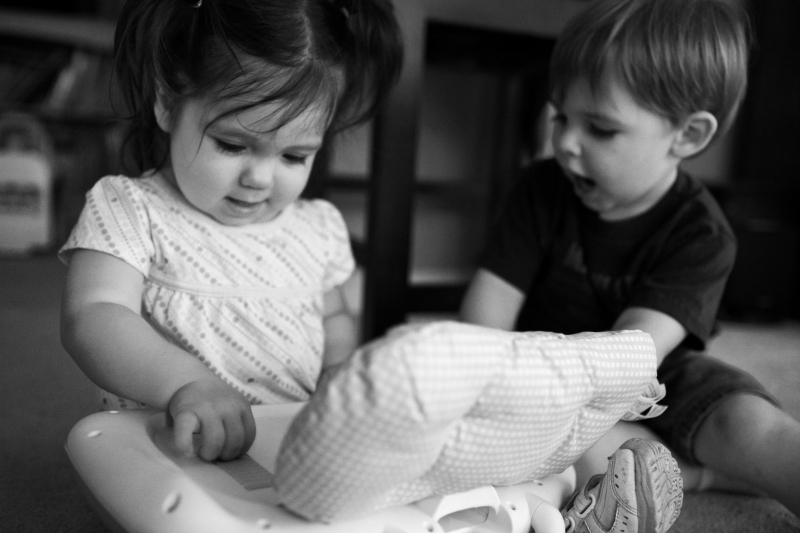
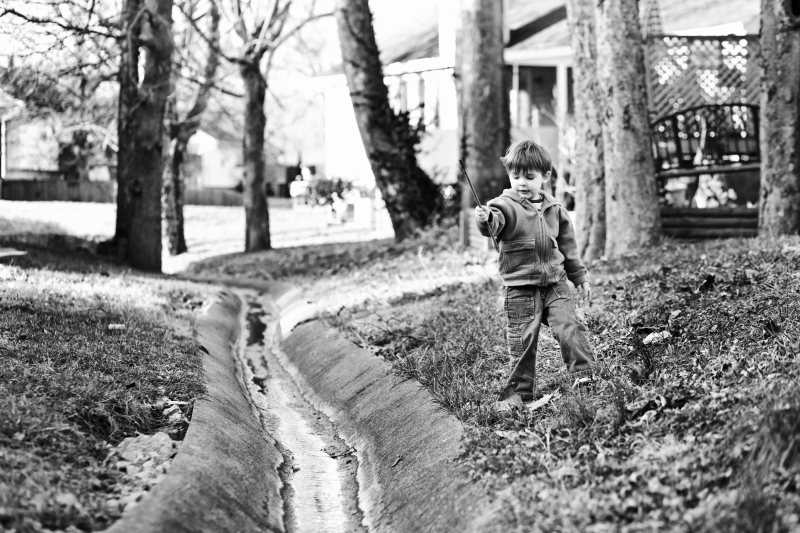
Taken at 85mm.
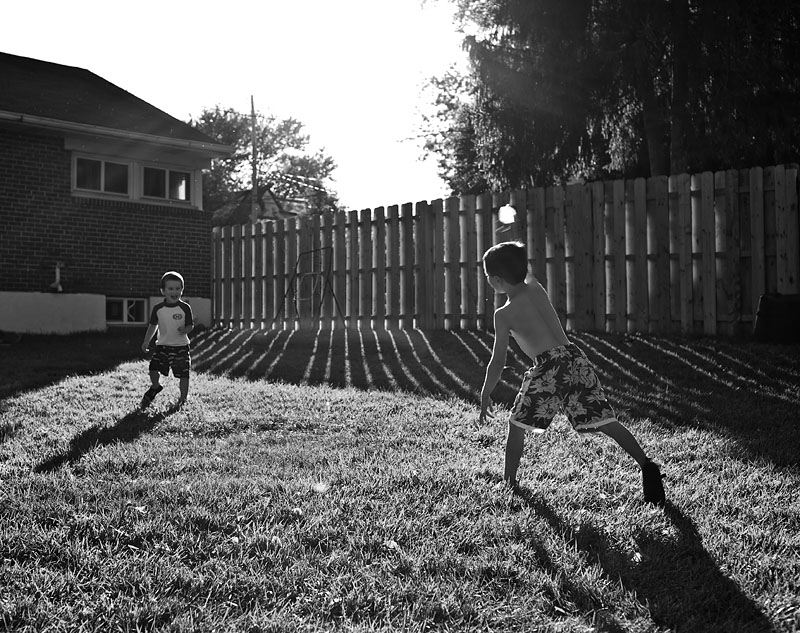
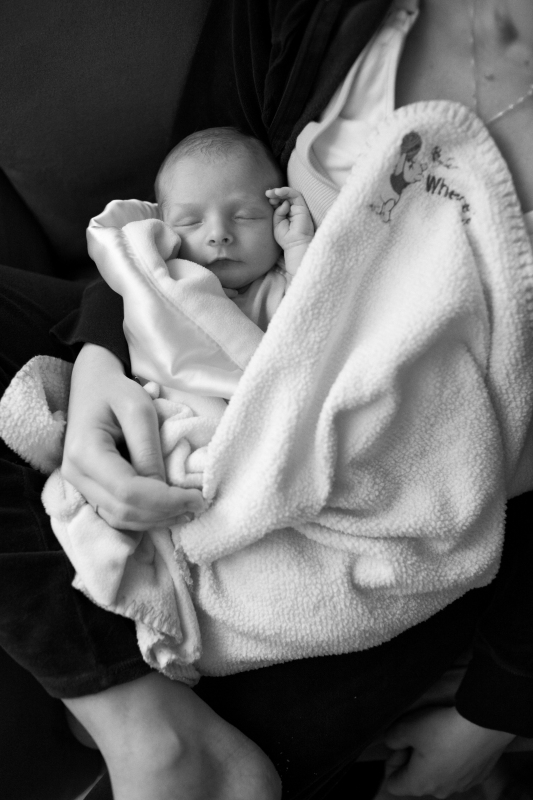
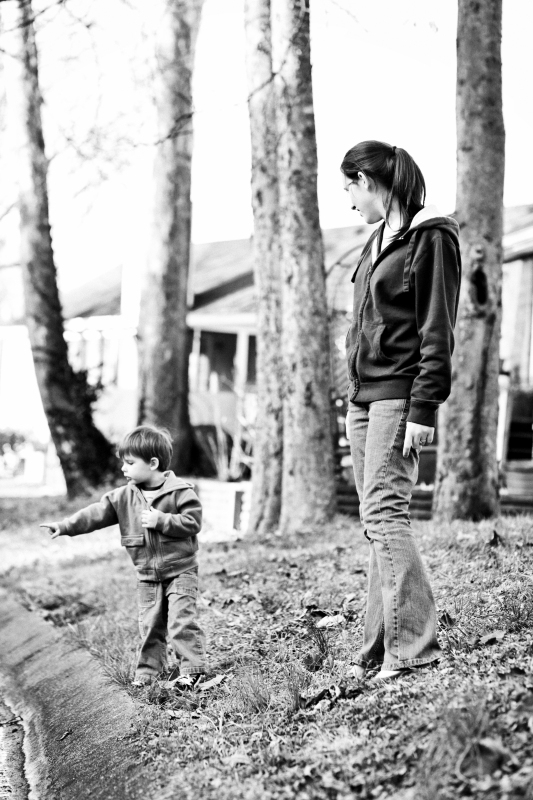
Taken at 135mm.
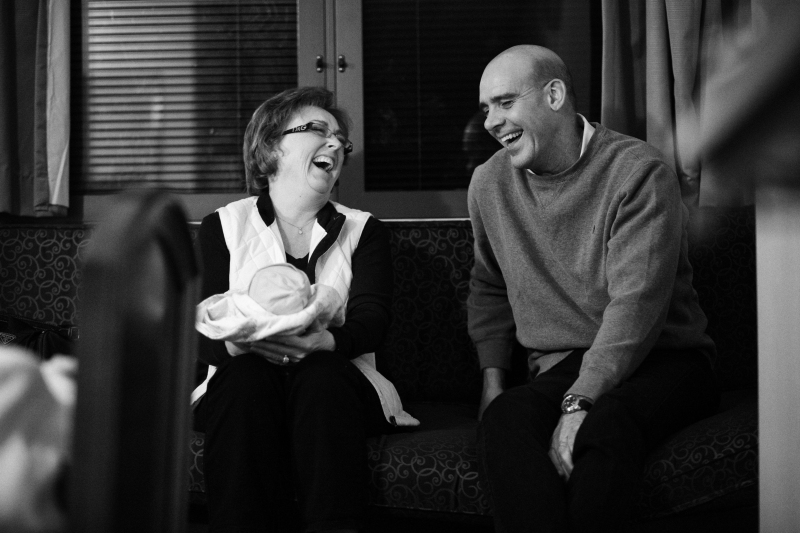
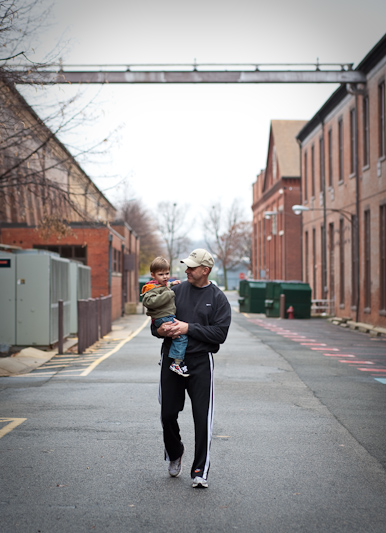
Here is an example of how short telephotos can still be used to show context. I liked the moment my son and father-in-law were sharing and shooting from afar allowed that to continue, uninterrupted. Taken at 85mm.
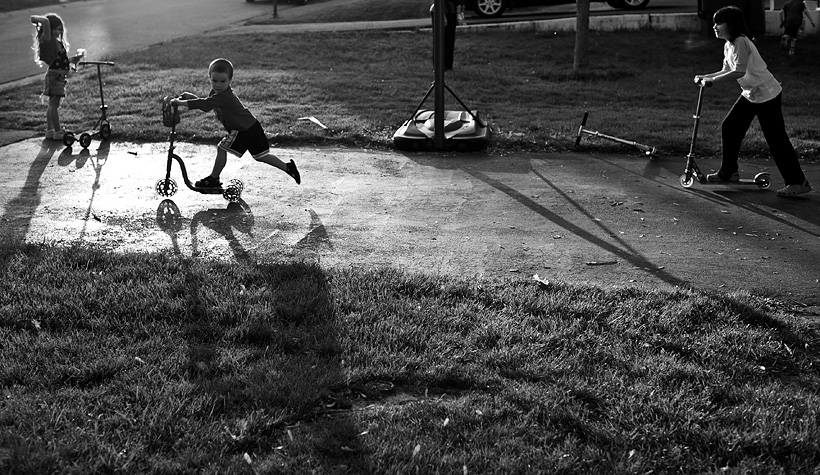
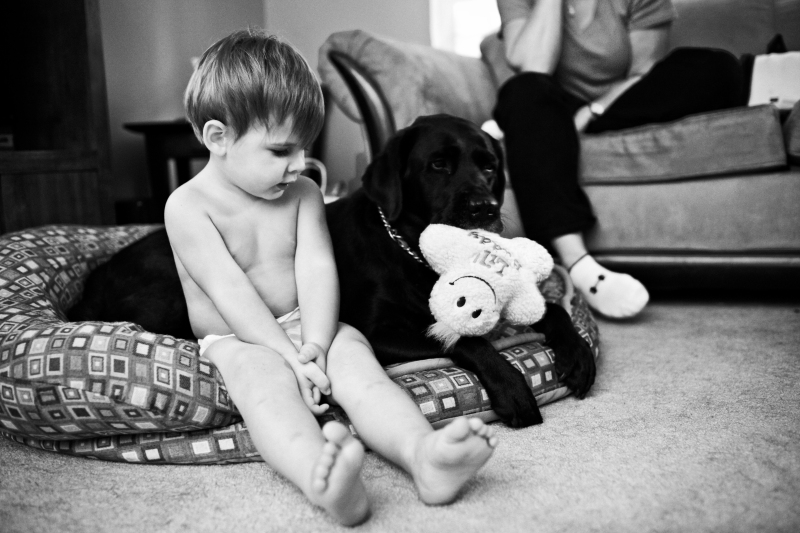
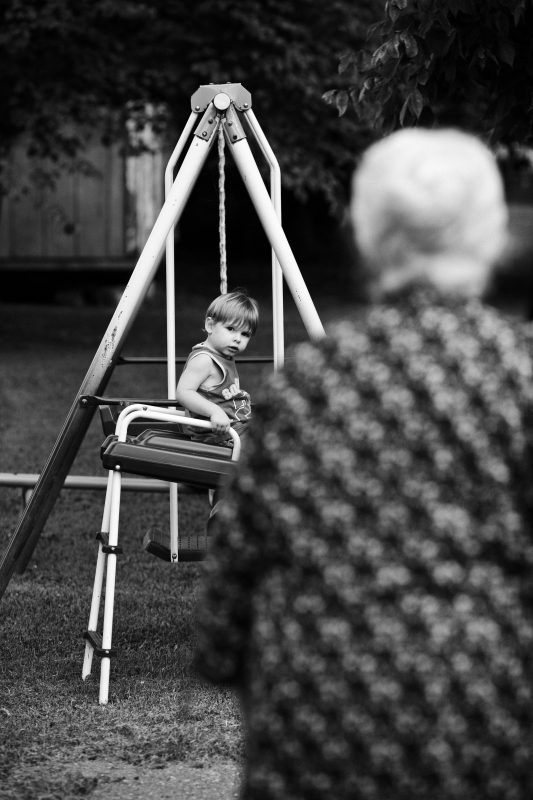
Taken at 135mm.
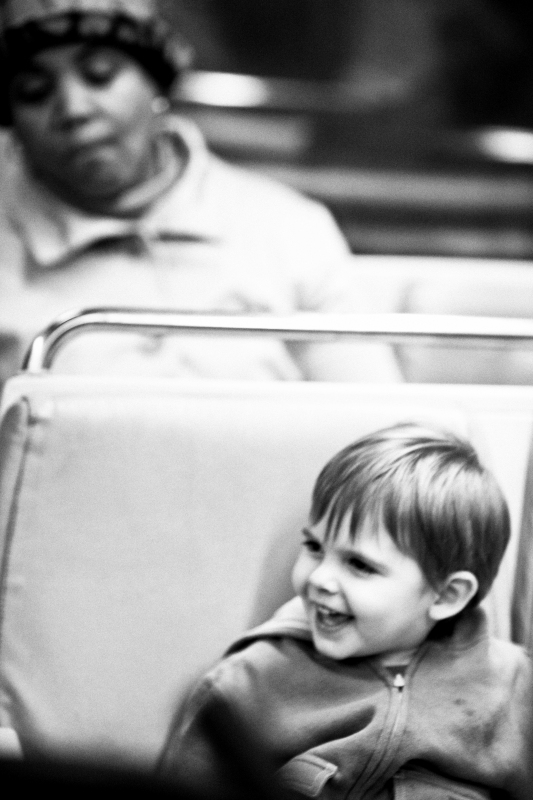
I don't give a second thought to pushing my hands holds to get a shot (this means, I frequently shoot below the suggested shutter speed of 1/focal length). This shot was taken on a subway train and the softness doesn't bother me. The moment's there. Taken at 135mm.
Don't limit yourself to just one lens. Learn to see which lens will work for the shot you envision and grab that one. You'll appreciate the point of view it will give you, which is very different from that of a 24 or 35mm lens.
Email us with comments and questions. We want to cater this blog to our readers. Thanks for continuing to visit us.
daniel